
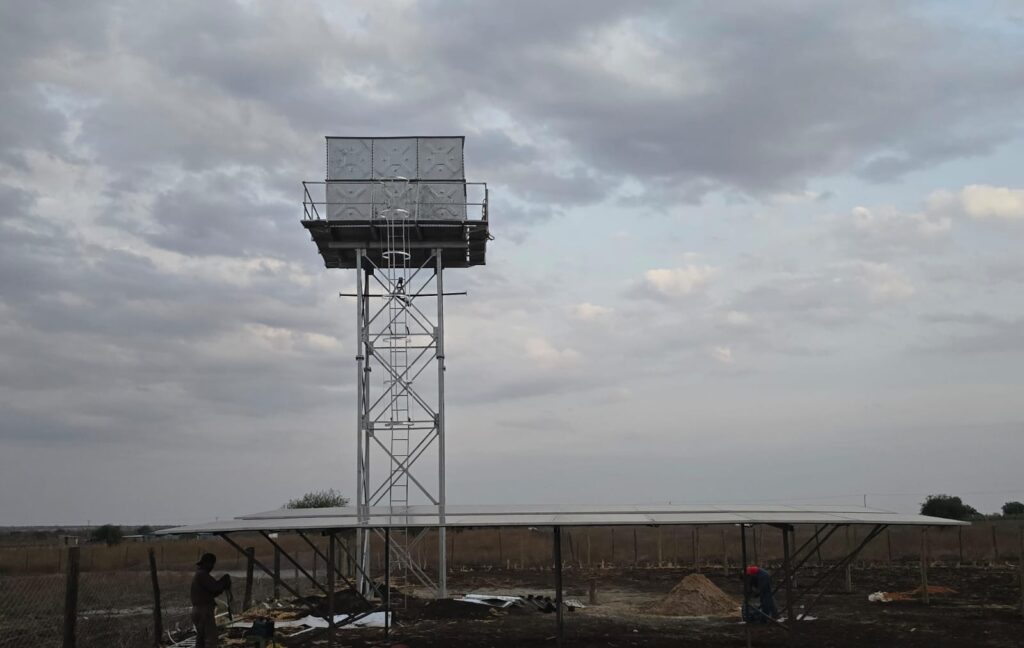
A tower is only as good as the workshop that makes it. Even a perfect design will fail to perform if members are cut to the wrong length, holes are misaligned, welds are defective or coatings are thin. Fabrication turns drawings into physical steel, and quality control (QC) makes sure the result matches the design intent. This article follows a steel tower through the fabrication shop and explains the checks that protect structural safety.
Step 1: Engineering and Shop Drawings
Fabrication begins with approved design drawings, from which detailers prepare shop drawings and cutting lists. Every member receives a unique mark number, with its length, section, hole positions, bolt sizes and coating requirements. Modern fabricators use 3D detailing software and CNC data files, which reduce errors and allow automated cutting and drilling.
Before production, the engineer or client reviews drawings to confirm that member sizes, connection details and bolt patterns match the design model. A small detailing mistake repeated over hundreds of members can be extremely costly to correct.
Step 2: Material Procurement and Verification
Steel must be bought to the specified grade, such as S355, S275 or ASTM A572 Grade 50 and A36. Each batch comes with mill certificates that record chemical composition and mechanical properties, linked to a heat number. QC checks include:
- Comparing certificates with the specification.
- Checking dimensions, thickness tolerances and surface condition.
- Marking heat numbers on pieces so traceability is retained through fabrication.
- Testing samples at an independent laboratory when certificates are doubtful.
Unverified or mixed-grade steel is a hidden risk, and rejecting it at the start is far cheaper than discovering it after erection.
Step 3: Cutting, Punching and Drilling
Angles and plates are cut by shearing, sawing, plasma or laser to the specified length. Holes are punched or drilled. For thick members, drilling is preferred, because punching can create micro-cracks and hardened edges. CNC angle lines, which can punch, drill, mark and cut in a single pass, achieve high accuracy and repeatability.
Typical tolerances are tight: hole diameter is normally bolt diameter plus 1.5 to 2 mm; hole spacing must be within about ±1 mm across connection groups; and member length within a few millimetres. Dimensional checks on first pieces, then random pieces, confirm the machines are set correctly.
Step 4: Forming, Bending and Rolling
Some tower parts require bending, such as monopole shaft sections, which are formed from plate by press-braking or rolling. Longitudinal seams are welded, and the sections are tapered so that diameter decreases with height. Controlled bending radii and heat limits prevent cracking and loss of strength.
Step 5: Welding
Welded parts include base plates, flanges, gusset plates, step bolt brackets, monopole shafts and platforms. Welding is performed under approved procedure specifications (WPS) by qualified welders, to standards such as AWS D1.1, ISO 3834 and EN 1090. Key points are:
- Welder and procedure qualification: records must be available and up to date.
- Preparation and fit-up: clean joints, correct gaps and bevels.
- Consumables: electrodes and wire stored dry and matched to the steel.
- Preheating and interpass temperature control for thick sections.
- Distortion control through sequencing and fixtures.
Step 6: Non-Destructive Testing (NDT)
Welds that carry significant load, such as monopole seams and flange connections, are inspected after welding.
- Visual testing (VT) for cracks, undercut, porosity and profile.
- Magnetic particle testing (MT) or dye penetrant testing (PT) for surface cracks.
- Ultrasonic testing (UT) or radiographic testing (RT) for internal defects in critical joints.
Acceptance criteria follow the design specification or standard. Defects are repaired and re-tested; repeated failures indicate a process problem requiring correction rather than patching.
Step 7: Trial Assembly
For complex or critical towers, a trial assembly of one or more sections is done at the workshop. The sections are laid out or stacked to check that holes line up, flanges seat properly and dimensions match. Finding a fit-up issue in the workshop costs a few hours of rework; finding it 40 m above ground can cost days of crane time.
Step 8: Surface Preparation and Galvanizing
After fabrication, parts go to the galvanizing plant. Vent and drain holes are checked before dipping. After galvanizing, the QC team inspects coating thickness and appearance as described in the article on galvanizing standards, and checks that threads, holes and mating surfaces are free of excess zinc. Distorted members are straightened.
Step 9: Marking, Packing and Dispatch
Each member is permanently marked with its identification number, preferably stamped before galvanizing, or tagged afterward. Bolts, nuts, washers, step bolts and accessories are counted and packed separately with a packing list. Items are bundled by tower section or panel to simplify site assembly, protected against damage and transported on suitable vehicles. A final check against the packing list prevents expensive delays on site.
The Quality Management System
Competent fabricators work under a documented system such as ISO 9001, with additional controls specific to structural steel (EN 1090-2, execution class EXC2 or EXC3 for towers). A project quality plan usually defines:
- Inspection and test plan (ITP): a table listing each activity, the standard, the method, who checks it and the hold points where work must stop for approval.
- Document control: drawings, revisions and certificates.
- Calibration: measuring tools and gauges.
- Non-conformance reports (NCR): how defects are recorded, investigated and closed.
- Records: a final dossier for the client with certificates, test results and inspection reports.
Third-Party Inspection
For critical projects, the client may appoint an independent inspector to witness key stages: material receipt, first article inspection, welding, NDT, trial assembly, galvanizing and dispatch. Independent inspection adds cost, but it is generally small compared with the cost of a failed structure.
Common Fabrication Defects and Their Consequences
| Defect | Consequence |
|---|---|
| Misplaced holes | Members cannot be bolted; field reaming weakens connection |
| Wrong steel grade | Reduced capacity; possible collapse |
| Poor welds | Cracks, fatigue failure at flanges |
| Thin galvanizing | Early corrosion |
| Mislabelled parts | Erection delays, wrong assembly |
| Distortion | Poor fit-up, locked-in stress |
Practical Tips for Tower Owners and Developers
- Choose fabricators with proven tower experience, not just general steelwork.
- Visit the workshop before awarding a contract, and review certificates and past projects.
- Insist on an agreed ITP and hold points.
- Check that holes and members match the design drawings on the first fabricated tower.
- Keep all QC records, since they are valuable for future audits and modifications.
Conclusion
Fabrication quality is not a luxury; it is the foundation of tower safety and longevity. Through controlled materials, precise cutting and drilling, qualified welding, NDT, trial assembly and strict galvanizing checks, a good fabricator delivers steel that fits first time and performs for decades. Establishing clear specifications and a robust QC plan before production begins is the surest way to avoid defects.
Key references: EN 1090-2; AWS D1.1; ISO 3834; ISO 9001; ISO 1461.
