
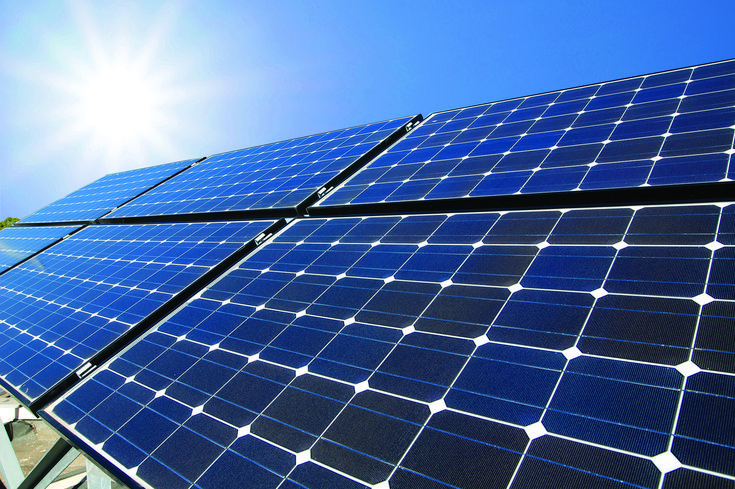
A solar site assessment is the survey that tells you whether your property can host a system, what size it can be, and what must be fixed first. Skipping it is the most common reason for underperforming systems, costly redesigns and failed inspections. Use this checklist to prepare, to question your installer, or to run a first-pass assessment yourself before the professional survey.
Why a Solar Site Assessment Matters
A solar array is only as good as the place it sits. Shade on a single panel can reduce the output of a whole string. A weak roof can fail under mounting loads and wind uplift. An old distribution board may not safely accept a new power source. A thorough assessment finds these problems before they become expensive.
1. Energy and Load Data
- [ ] Collect 12 months of electricity bills (kWh, tariff, maximum demand for businesses).
- [ ] Identify when energy is used: daytime, evening, seasonal peaks.
- [ ] List critical loads that need backup (fridges, medical equipment, servers, pumps).
- [ ] Note planned changes: extensions, new equipment, electric vehicles.
- [ ] Record any efficiency upgrades to complete first, such as LED lighting.
This data drives system size and decides whether you need batteries.
2. Roof or Ground Space
- [ ] Measure usable, unshaded area. Modern panels need roughly 5–7 m² per kWp.
- [ ] Record roof orientation. Near the equator, orientation is less critical than at higher latitudes, and low tilts of about 5–15 degrees work well. A tilt of at least about 10 degrees also helps rain wash dust away.
- [ ] Check the roof pitch and surface type: iron sheet, clay or concrete tiles, concrete slab, membrane.
- [ ] Mark obstructions: vents, skylights, satellite dishes, water tanks, parapets.
- [ ] Leave access paths for maintenance and fire safety, commonly around 0.5–1 m clear walkways in commercial installations, subject to local rules.
- [ ] For ground-mount, check land ownership, drainage, slope, soil type, security and vegetation growth.
3. Shading Analysis
Shading is one of the largest controllable losses.
- [ ] Identify trees, buildings, poles and walls that cast shadows.
- [ ] Check shade at different times of day and across the seasons, since sun angles change.
- [ ] Use a shading tool such as a solar pathfinder, a smartphone app or professional design software to estimate shading losses.
- [ ] Consider future growth of trees and planned construction nearby.
- [ ] If partial shade is unavoidable, consider module-level power electronics (microinverters or optimisers) or careful string layout.
4. Structural Assessment
- [ ] Confirm the roof’s age and condition. A roof with less than 10 years of life left should be repaired before installing panels that will last 25 years.
- [ ] Check the roof structure: rafters or purlins, spacing, material, and corrosion.
- [ ] Estimate added load. Panels and racking typically add about 10–20 kg per square metre, which most sound roofs carry, but verify, especially for old or lightweight structures.
- [ ] Assess wind loading. Panels must resist uplift, and roof fixings must suit your roofing material.
- [ ] For commercial and industrial rooftops, obtain a structural engineer’s report.
- [ ] Plan waterproofing of all roof penetrations.
5. Electrical Readiness
- [ ] Identify supply type: single-phase or three-phase, voltage, and main breaker rating.
- [ ] Inspect the distribution board for space, condition, labelling and compliance.
- [ ] Check the earthing system and measure earth resistance.
- [ ] Locate the best place for the inverter and batteries, close to the main board and away from heat and moisture.
- [ ] Plan cable routes and estimate lengths to keep voltage drop low.
- [ ] Verify the condition of existing wiring and protection devices.
- [ ] Assess whether lightning protection or surge protection is needed.
- [ ] Check the meter and whether a bidirectional meter is required for export.
6. Battery and Equipment Location
- [ ] Choose a dry, shaded, well-ventilated location. Heat shortens battery life.
- [ ] Keep batteries away from direct sunlight, flammable materials and living spaces where possible.
- [ ] Ensure clear access, appropriate fire extinguishers and signage.
- [ ] For lead-acid batteries, plan for ventilation of hydrogen gas.
- [ ] Verify floor strength, since battery banks can be heavy.
7. Environmental Conditions
- [ ] Dust and soiling: unpaved roads, construction or farming nearby increase soiling and cleaning needs.
- [ ] Coastal exposure: salt air accelerates corrosion. Use salt-mist-tested panels and corrosion-resistant fixings.
- [ ] Heat: high temperatures reduce panel output and inverter performance; allow ventilation behind panels and around inverters.
- [ ] Hail, storms and heavy rain: confirm module and racking ratings.
- [ ] Wildlife: birds and rodents may nest under panels or damage cables; consider bird-proofing.
8. Safety and Access
- [ ] Plan safe roof access, with fall protection for installers.
- [ ] Identify hazards: overhead power lines, fragile roof sheets, asbestos roofing.
- [ ] Check that fire services or emergency responders can identify isolation points.
- [ ] Plan safe locations for DC isolators and emergency shutoff switches.
Asbestos roofing in particular must not be drilled or disturbed without specialist handling.
9. Regulatory and Grid Considerations
- [ ] Confirm that your installer and technicians are licensed by the Energy and Petroleum Regulatory Authority (EPRA).
- [ ] If you want to export power, check net-metering rules, capacity limits and approvals with Kenya Power.
- [ ] Check county building and planning requirements, particularly for ground-mounted or structural work.
- [ ] Confirm landlord or body corporate permission for leased or shared premises.
- [ ] Check insurance requirements and notify your insurer.
10. Security and Theft Risk
- [ ] Assess the risk of theft for panels, cables and batteries.
- [ ] Consider anti-theft fixings, fencing, lighting, cameras and monitoring alerts.
- [ ] Check that insurance covers theft.
Documents and Tools for the Assessment
Bring or request: recent electricity bills, a site plan or roof drawing, photographs of the roof, distribution board and meter, an earth resistance meter, a measuring tape or laser measure, a compass, a tilt gauge, and a shading analysis tool. Professional assessors also use drones for large roofs.
What Happens After the Assessment?
The results feed into the design. You should receive a written site report that includes usable area, shading loss estimates, structural findings, electrical upgrade needs, recommended system type and size, and a list of permits needed. Compare quotes only on the same assessment data so that you are comparing like with like.
Conclusion
A careful solar site assessment saves money, prevents rework and protects safety. Work through the checklist above, gather your bills, inspect the roof and electrical board, and insist on a written report from a licensed professional before you sign a contract. A good survey is the foundation of a solar system that performs for decades.
Sources and Further Reading
- National Renewable Energy Laboratory (NREL), solar siting and shading resources: nrel.gov
- IEC 62446-1, grid-connected PV systems: documentation, commissioning tests and inspection: iec.ch
- Energy and Petroleum Regulatory Authority (EPRA), Kenya: epra.go.ke
- Global Solar Atlas: globalsolaratlas.info
