
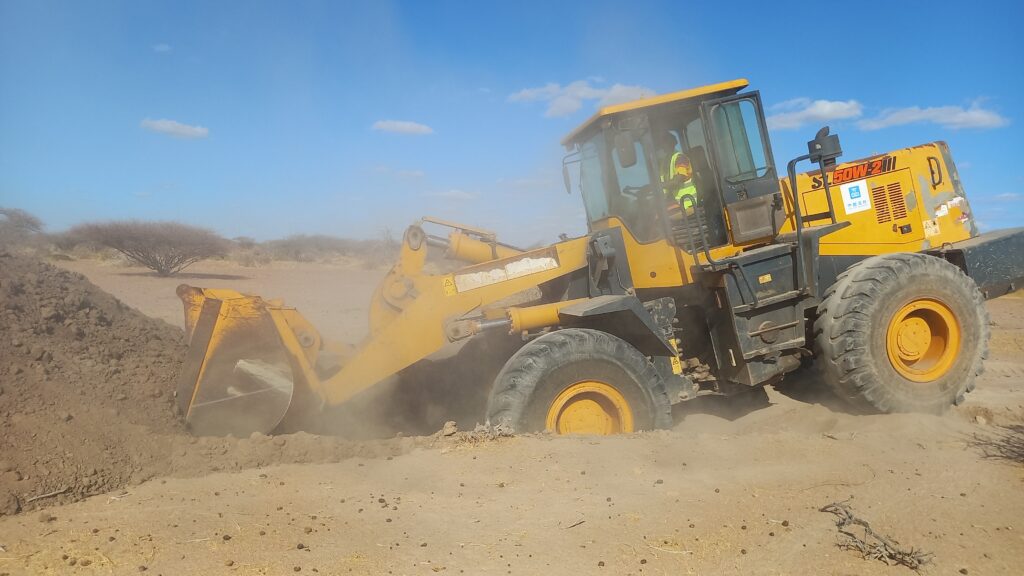
Every building, road, bridge or dam starts with one question: what is under the ground? Soil boring and drilling are how engineers answer it. The method you choose controls the quality of samples, the depth you can reach, the cost of the investigation and, ultimately, how reliable your foundation design will be. A cheap boring method that disturbs the soil can lead to expensive design errors later.
This guide compares the most common soil boring and drilling methods used in geotechnical site investigation, explains how each one works, and shows how to match the method to the ground and the project.
Why the Boring Method Matters
A site investigation has three goals: identify the soil and rock layers (stratigraphy), measure their engineering properties, and locate groundwater. Boring methods differ in how well they achieve each goal. Some recover continuous, high-quality samples; others only give a quick indication of soil type. Guidance documents such as BS 5930:2015, ISO 22475-1 and Eurocode 7 (EN 1997-2) all stress that the method must suit the ground conditions and the design questions being asked.
Key factors to weigh include required depth, soil type (clay, sand, gravel, weathered rock), groundwater level, site access, budget, and whether undisturbed samples are needed for laboratory testing.
Trial Pits and Test Pits
A trial pit is a machine-dug (or hand-dug) excavation, usually 2 to 5 metres deep, that lets the engineer look directly at the soil. It is the most direct way to see fabric, fissures, layering and groundwater seepage.
Advantages: low cost, quick, excellent for visual logging, and allows large bulk samples and block samples. Pits are valuable in expansive soils such as black cotton soil, where fissuring and desiccation cracks are important.
Limitations: shallow depth, instability below the water table or in loose sand, and safety risks. No one should enter an unsupported pit deeper than about 1.2 metres.
Hand Augering
Hand augers are screw-shaped tools turned manually to depths of around 3 to 6 metres in soft or loose ground. They are useful for reconnaissance, road corridors, and remote sites where a rig cannot reach.
Advantages: very cheap and portable. Limitations: samples are heavily disturbed, depth is limited, and the auger cannot penetrate gravel, cobbles or hard layers. Hand augering suits preliminary classification only.
Light Percussion (Shell and Auger) Drilling
Light percussion drilling is widely used for low-rise buildings and moderate-depth investigations. A tripod rig lifts a cutter (a clay cutter or a shell) that is repeatedly dropped to advance the hole. Casing is driven to hold the hole open.
Advantages: portable, relatively economical, and well suited to taking 100 mm diameter open-drive (U100) undisturbed samples in cohesive soils. It allows Standard Penetration Tests (SPT) in granular soils.
Limitations: slow below about 30 metres, limited ability to penetrate rock, and sample quality depends on operator skill.
Continuous Flight Auger and Hollow-Stem Auger
Power augers use a helical flight that carries soil to the surface as the rig rotates. In a hollow-stem system, the central opening of the flight lets samplers and SPT equipment be lowered through the auger without removing it.
Advantages: fast progress in clays, silts and sands above the water table; hollow-stem augers keep the hole stable in loose or running sands.
Limitations: continuous solid-stem augers only give disturbed samples and make precise depth control difficult. Below the water table, sand can heave into the stem and give false SPT results unless water pressure is balanced.
Rotary Wash Boring
In wash boring, a rotating bit cuts the soil while drilling fluid (water or bentonite mud) is pumped down the rods and carries cuttings up the annulus. Casing is used near the surface.
Advantages: efficient in deep soil profiles, stable holes in sand and soft clay due to fluid pressure, and compatible with SPT and undisturbed tube sampling.
Limitations: cuttings are mixed and unreliable for logging, so sampling must be done by driven or pushed tubes. Fluid can soften sensitive soils and complicate groundwater observations.
Rotary Core Drilling
When rock, weathered rock or cemented soil must be assessed, rotary coring is the standard. A diamond or tungsten-carbide core barrel cuts a cylindrical core of rock, which is recovered in a core barrel and stored in core boxes.
Engineers record Total Core Recovery (TCR), Solid Core Recovery (SCR) and Rock Quality Designation (RQD), which is the percentage of core pieces longer than 100 mm. RQD helps estimate rock mass quality and rock-socket capacity for piles.
Advantages: continuous, high-quality rock samples and deep reach. Limitations: higher cost, heavy equipment, and need for water supply. Core quality depends on barrel type (single, double or triple tube) and driller skill. Triple-tube barrels reduce damage in weak or fractured rock.
Cone Penetration Testing (CPT) and Probing
The CPT pushes an instrumented cone at a steady rate of 20 mm per second into the ground, recording tip resistance, sleeve friction and, with a piezocone (CPTu), pore water pressure. It produces a near-continuous profile and does not need drilling.
Advantages: fast, repeatable, minimal operator influence, and excellent for soft clays, silts and loose sands. Correlations give undrained shear strength, relative density and soil behaviour type.
Limitations: no physical sample is recovered, so CPT is best paired with at least some boreholes. It cannot penetrate gravel, cemented layers or rock. Dynamic probing (DPL, DPH, DPSH) is a cheaper cousin for relative density checks in granular soils.
Sampling Quality: Disturbed vs Undisturbed
Boring methods are only half the story; sampling is the other half. Disturbed samples (bulk bags, SPT split-spoon samples) are fine for classification, grading and Atterberg limits. Undisturbed samples are needed for shear strength and consolidation testing. These are typically obtained using thin-walled Shelby tubes (ASTM D1587), open-drive U100 samplers, piston samplers for soft clays, or block samples cut from pits. Sample quality is judged by area ratio, recovery ratio and handling. Tubes should be sealed, kept upright, protected from heat and vibration, and delivered quickly to the laboratory.
Standard Penetration Test: Linking Drilling to Design
The SPT (ASTM D1586, BS EN ISO 22476-3) drives a 51 mm split spoon sampler with a 63.5 kg hammer dropped 760 mm. The N-value is the number of blows for the final 300 mm of a 450 mm drive. It is the most widely used in-situ test worldwide, linking drilling directly to correlations for relative density, friction angle and bearing capacity in sands. Energy corrections and overburden corrections are essential when interpreting N-values from different rigs.
Comparison at a Glance
| Method | Typical depth | Best for | Sample quality | Relative cost |
|---|---|---|---|---|
| Trial pit | up to 5 m | Visual logging, bulk samples | Excellent (block) | Low |
| Hand auger | 3 to 6 m | Reconnaissance | Poor | Very low |
| Shell and auger | up to 30 m | Low-rise buildings | Good (U100) | Low to medium |
| Hollow-stem auger | up to 40 m | Soil above rock | Good | Medium |
| Rotary wash | 30 m and more | Deep soil profiles | Fair to good | Medium |
| Rotary core | 100 m and more | Rock, weathered rock | Excellent (rock) | High |
| CPT/CPTu | 30 m and more | Soft soils, profiling | None (in-situ data) | Medium |
Choosing the Right Method
Start with the project. A single-storey house on stiff clay may need only trial pits and a few shell-and-auger boreholes. A multi-storey tower or bridge pier needs deep boreholes with SPT, undisturbed samples and rock coring, possibly complemented by CPT.
Then consider the ground. In Kenya, black cotton soils (expansive clays) require pits or undisturbed sampling to capture fissuring and moisture profile, while volcanic ash and tuff deposits around Nairobi often need rotary drilling with careful SPT testing. Weathered rock and lava flows demand coring.
Finally, plan borehole spacing and depth. A common rule is to drill to at least 1.5 times the width of the foundation below founding level, or until competent strata are proven, and to space boreholes closely enough to capture variability.
Common Mistakes to Avoid
- Using disturbed samples to estimate shear strength or settlement parameters.
- Drilling too shallow and stopping in a soft layer that continues beneath.
- Ignoring groundwater observations or failing to install standpipes or piezometers.
- Poor storage and transport of undisturbed samples.
- Relying on one method when a combination (boreholes plus CPT plus geophysics) would reduce uncertainty.
Conclusion
There is no single best soil boring method. Trial pits show the soil as it really is, augers are cheap for early reconnaissance, shell-and-auger and rotary wash suit most building projects, rotary coring is essential for rock, and CPT delivers fast, continuous profiles. The best investigations combine methods, match sampling to the laboratory tests needed, and are planned with the structure in mind. Spending a little more on a well-designed investigation is almost always cheaper than fixing a foundation that was designed on poor data.
References and further reading
- BS 5930:2015+A1:2020, Code of practice for ground investigations
- ISO 22475-1, Geotechnical investigation and testing: sampling methods
- EN 1997-2, Eurocode 7: Ground investigation and testing
- ASTM D1586 (SPT), ASTM D1587 (thin-walled tube sampling), ASTM D2113 (rock core drilling)
- Lunne, T., Robertson, P.K., Powell, J.J.M. (1997). Cone Penetration Testing in Geotechnical Practice
- Clayton, C.R.I., Matthews, M.C., Simons, N.E. Site Investigation (2nd ed.)
